Blue Hour Harbor Photography: A Beginner's Guide to Settings, Timing, and Composition
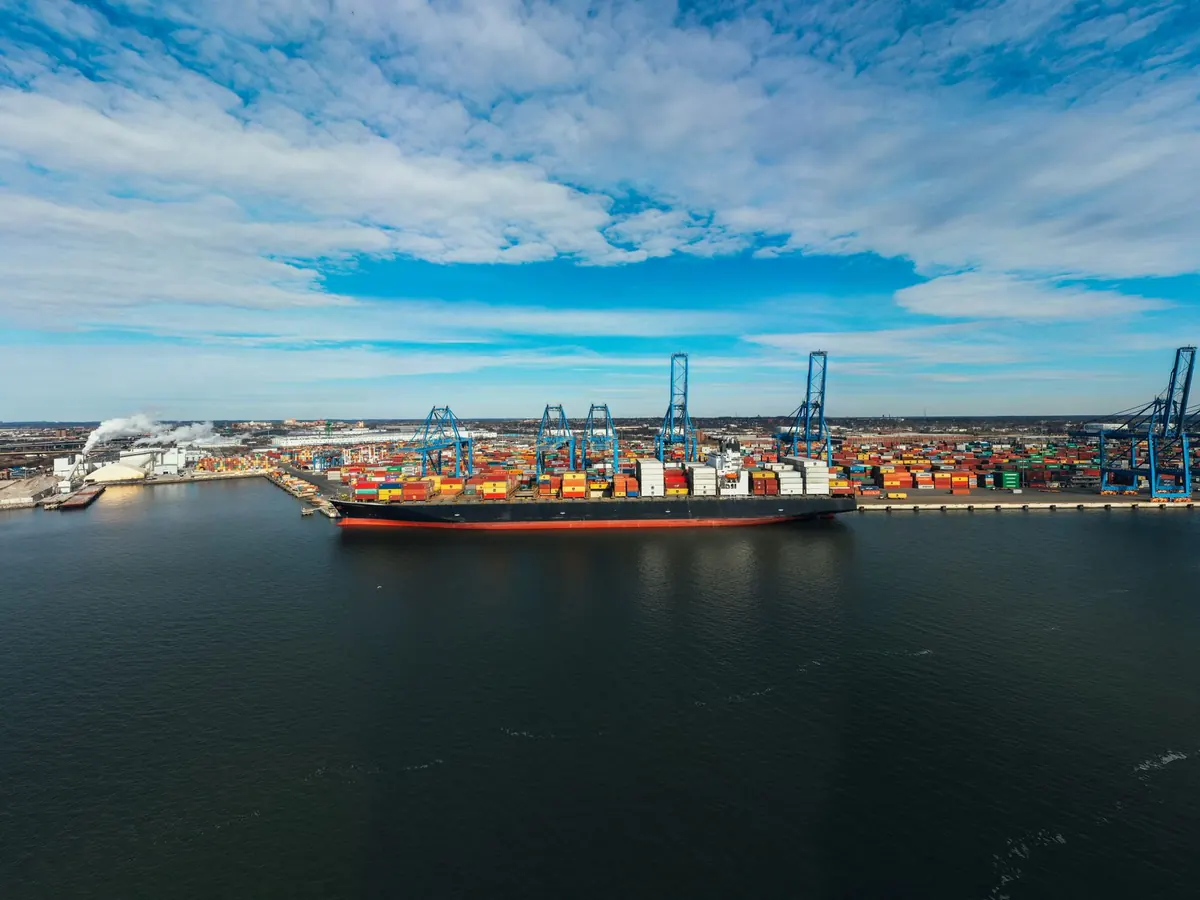
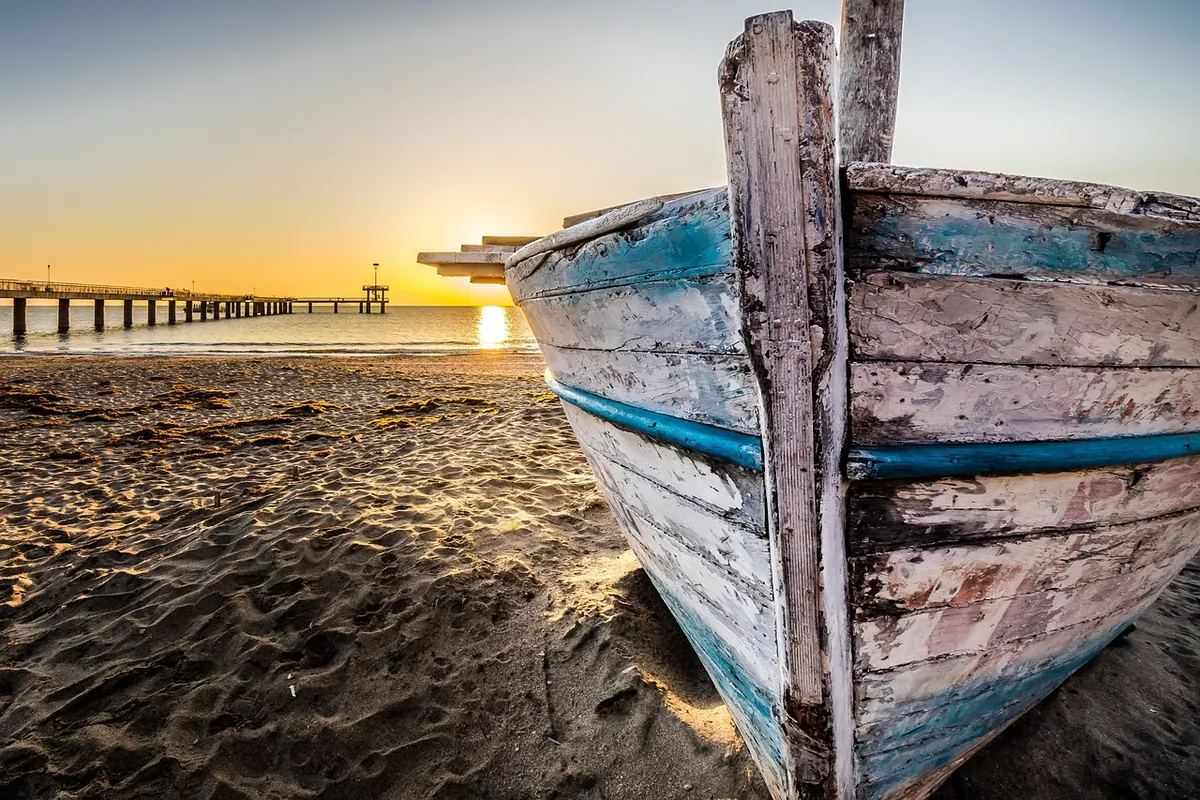
The harbor at blue hour is a different place. The water goes flat and holds the sky, masts and cranes turn into clean black shapes, and the first lamp on the quay does more work than the sun will all morning. It is also a short window — often less than half an hour of genuinely good light — which is why the strongest frames tend to come from photographers who arrive in the dark and work from a tripod.
You do not need exotic gear for this. A camera with manual controls, a tripod and a willingness to set an alarm will take you most of the way.
What blue hour actually gives you
Blue hour is the stretch of twilight when the sun sits below the horizon but the sky still carries light. In the morning, the usable part is usually the thirty to forty minutes before sunrise, with the deepest blue in the first half. As sunrise approaches, the color drains quickly toward grey or gold, depending on cloud.
Three qualities make it well suited to harbors. The light is soft, so there are no hard shadows to fight. Contrast between sky and water is low, which means both can be held in a single frame. And because the light is dim, long exposures become normal rather than exotic: ten seconds turns ripples into silk and erases the small movements that make a dock look busy.
What you trade for that is time. Blue hour rewards the person who is already set up when it begins.
Plan the morning backwards from sunrise
Look up the sunrise time for your location the night before, then work backwards:
- Sixty minutes before sunrise: park, walk the quay, decide on your first composition. It will still be dark; a small torch helps.
- Forty-five minutes before: tripod up, camera leveled, focus set, exposure tested at high ISO so you can see what you are doing.
- Thirty minutes before: the sky starts to color. Shoot your wide, quiet establishing frame now.
- Fifteen to five minutes before: the color peaks, then flattens. Change position while it is still good.
- At sunrise: keep shooting. The minutes just after the sun clears the horizon often light the far side of the harbor.
Check three practical things as well. Tide tables matter more than most people expect: low water can expose mud and pilings that ruin a reflection, and high water can sit where you planned to stand. Wind decides whether the surface is glassy or chopped. And a daylight scouting walk, even twenty minutes the week before, shows you which jetties are open, where the fences are, and which bollards and ladders make useful foregrounds.
If it is a working port, confirm when the gates open and where you are allowed to be. Commercial docks often restrict access, and a photographer standing in a loading zone at five in the morning is a problem for everyone.
Settings for low light without the guesswork
Start on a tripod and stay there. Handholding pushes you toward ISO 3200 and wide apertures, and those files rarely survive close inspection. Once the camera is stable, everything else becomes manageable.
A reliable baseline for a calm harbor scene:
- Format: RAW, so white balance and shadow detail can be corrected later.
- Mode: manual, with the histogram visible.
- ISO: 100 to 400. A long shutter is cheaper than noise.
- Aperture: f/8 to f/11 for most scenes. Use f/13 or f/16 only if you want starbursts from the quay lamps and can afford the extra time.
- Shutter: whatever the histogram asks for — commonly two to thirty seconds.
- White balance: around 4000K as a starting point, or daylight and adjust afterwards. Decide whether you want blue sky or warm lamps; there is no single correct answer.
- Focus: manual, using live-view magnification on a distant light or hard edge, roughly a third of the way into the frame.
- Stability: stabilization off, two-second timer or remote release, and a bag hung from the tripod hook if there is any breeze.
Expose for the sky and watch the right-hand edge of the histogram — lamps, white hulls and lit windows clip first. Then look at the shadows. These frames often look better a third of a stop brighter than instinct suggests, because the shadows are where the noise lives. If a scene has bright lamps and dark water, take one frame for the sky and one for the shadows and blend them later; that is usually cleaner than a single compromise.
Long exposures also mean long waits. Thirty seconds plus in-camera noise reduction can feel like minutes while the sky is changing, so take the wide shot first, while the blue is deepest.
Composing a quiet dock
Empty quays can read as empty rather than calm. What separates the two is structure: something for the eye to follow and something for it to rest on.
Use the harbor's own lines
Bollards, railings, mooring chains, the pier edge and rows of pilings are leading lines that already point somewhere. Get low and let the quay edge run from a bottom corner toward the masts. Place the horizon deliberately — high if reflections are the subject, low if the sky is. Keep the camera level so masts and buildings stay vertical; a bubble level or grid overlay saves a lot of correction later.
Find a foreground and a reflection
One object close to the lens — a coiled rope, a cleat, wet stone, a bicycle against a rail — gives the frame depth and scale. Look for sheltered water that can mirror: the inside of a breakwater, the gap between two hulls, a puddle on concrete. Reflections work best when they are nearly complete, so wait for a lull instead of shooting through chop.
Leave space. In low light the eye needs somewhere quiet to go, and a large area of unbroken sky or still water is not wasted — it is the reason the picture feels calm. Three or four distinct elements are plenty.
Handling mixed light
Blue hour harbors are rarely one color. Sodium lamps throw orange, modern LEDs throw green-white, and the sky stays blue. You can fight this or use it. The usual approach is to let the sky remain blue and the lamps go warm, which is close to how the scene actually looks. If LEDs turn sickly green, a slight tint adjustment toward magenta in post usually settles it.
Watch for silhouettes. Against a brightening sky, a crane, a mast or a figure on the quay reads as a strong shape, and shapes are easier to compose than detail in low light. Lamps can be included for starbursts at small apertures, but keep them away from the center unless you want the eye to stop there.
A simple routine for your first morning
Pack the night before: camera, a wide and a standard lens, tripod, spare battery, a cloth for spray, a torch and a warm layer. Arrive an hour early, walk the quay before setting anything up, and pick two compositions — one wide, one close. Take a test frame at ISO 3200 to check the composition, then return to ISO 200 and work slowly. Shoot the sky exposure first, then the reflection, then the details. Stay ten minutes past sunrise, because the light often improves once everyone else has packed up.
Then go home, warm up, and review the frames on a large screen. Blue hour is a craft of repetition; the second morning is always easier than the first.
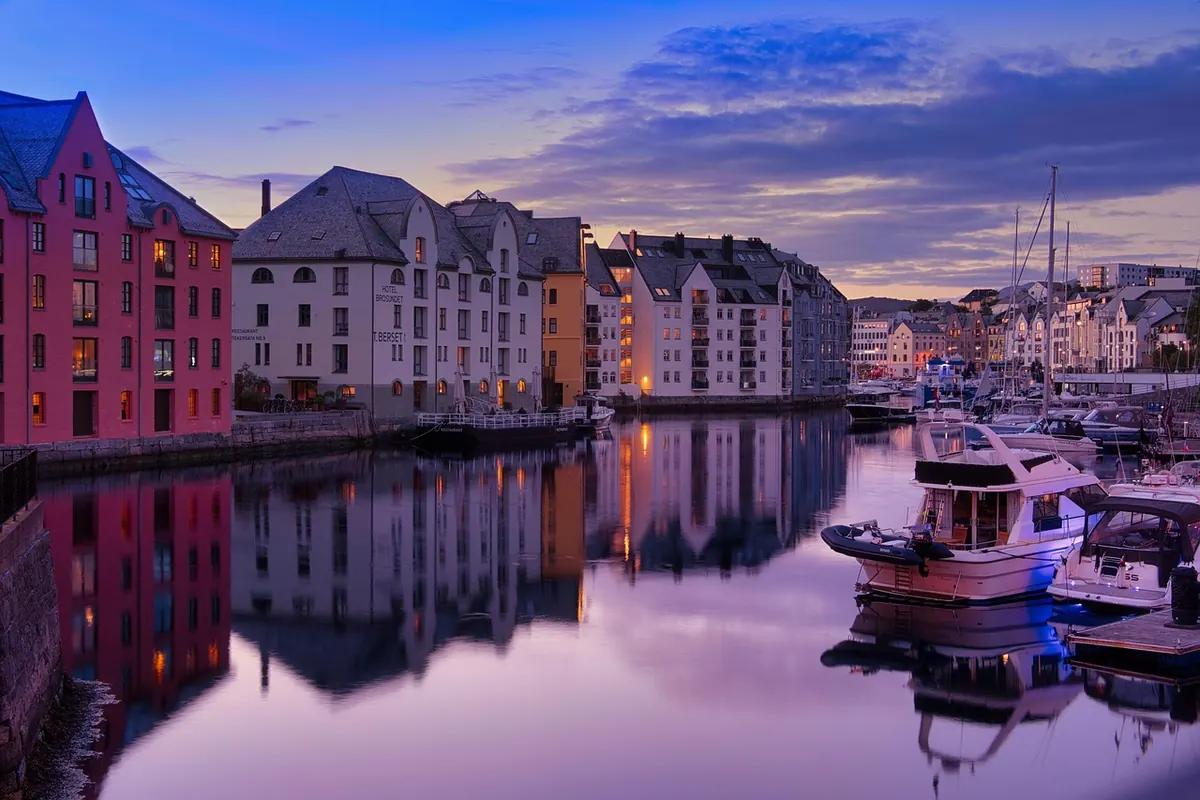
Photo: rperucho / Pixabay