Harbor Photo Checklist: 12 Essential Shots for a Complete Port Visit
A harbor hands you everything at once. Cranes cutting the sky, a coil of orange line on wet stone, gulls arguing over a bollard, a trawler sliding out on the tide. The temptation is to spin in a circle and shoot in every direction, then come home with four hundred frames that all look roughly the same. A shot list fixes that. Not as a cage, but as a route through the noise.
The twelve frames below are the ones worth walking past the obvious to find: wide views that explain the place, close details that give it texture, water and light that give it mood, working scenes that give it life. Work through them in order, or pick the four that suit the light you happen to have. Either way you leave with a portfolio instead of a folder.
Start Wide: Three Frames That Establish the Place
Before you crouch down for rope knots, prove where you are. A good harbor set needs at least one image that would let a stranger find their way around the basin.
1. The arrival frame. Stand where the road meets the quay and look along the water. Use a wide-to-normal lens, stop down to f/8 or f/11, and focus roughly a third of the way into the scene so the foreground bollard, mooring ring or wet cobbles stay crisp. Include something at the bottom of the frame to anchor the viewer. Check the horizon twice — flat water makes a tilted horizon painfully obvious.
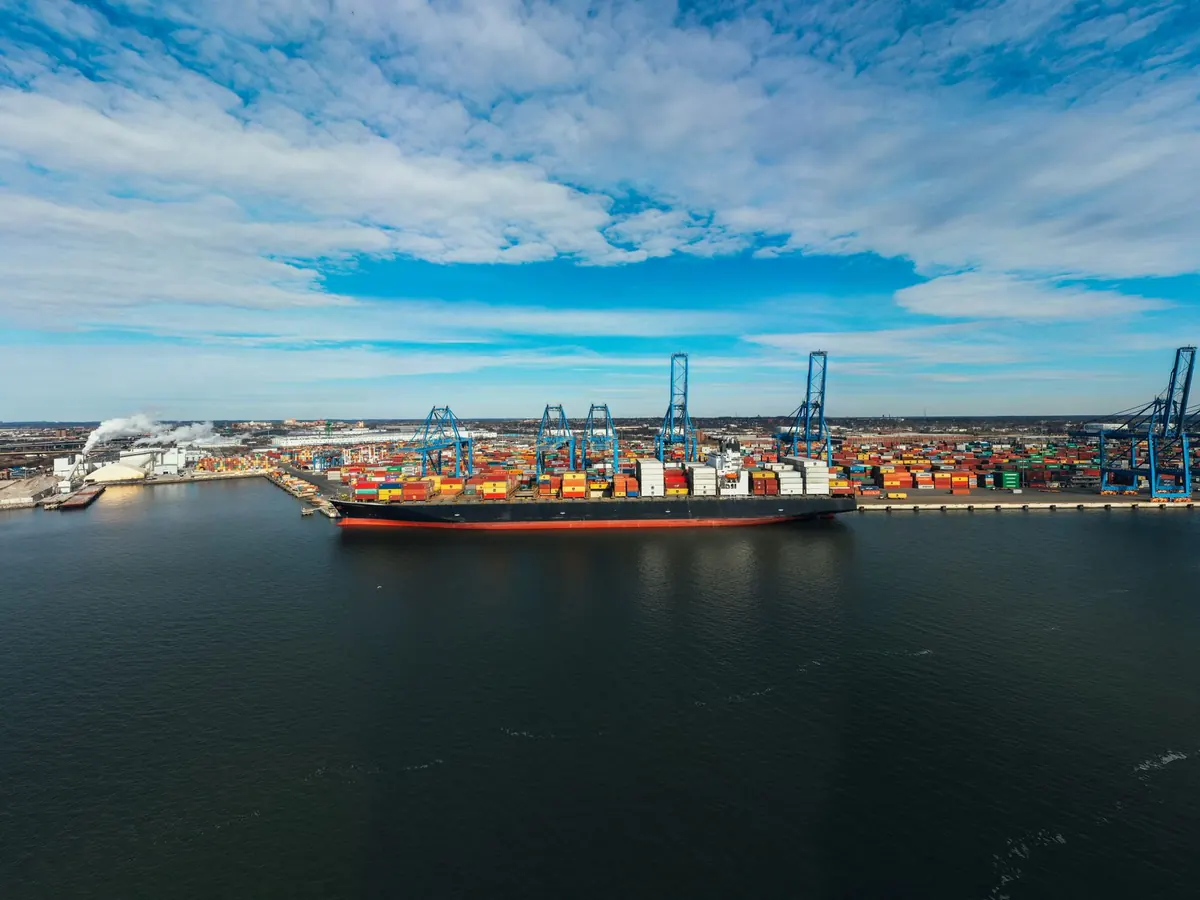
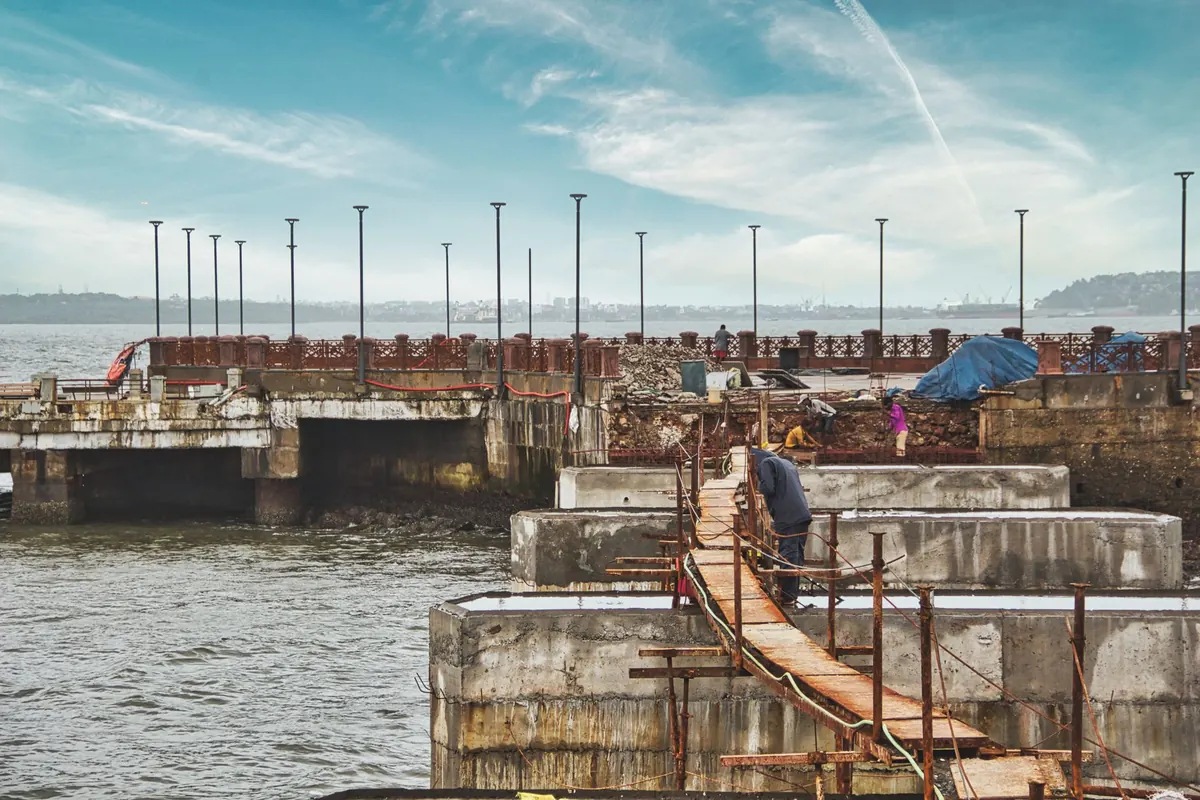
2. The view from the opposite quay. Walk to the far end, turn around, and shoot back at where you started. A 70–135mm lens compresses the layers beautifully: masts, then sheds, then cranes stacked behind each other. Late afternoon side light separates those layers with shadow. This is often the shot that says "port" more clearly than any close-up.
3. The line that leads. Bollard rows, mooring chains, rail tracks set into concrete, the painted edge of the quay. Crouch low and let the line run from a bottom corner toward the vanishing point. Then wait — for a gull, a cyclist, a dockworker — to break the symmetry. A leading line is stronger with one small interruption in it.
Move In Close: Details That Carry the Character
Wide shots tell the story; details make it believable. Once the big views are in the bag, change lenses or move your feet and stay there for twenty minutes.
4. Rope and knots. Every quay has them, and almost nobody photographs them well. Look for a line under tension — a spring line holding a hull off the wall, a fender hitch, a frayed end that has earned its wear. Use a short telephoto at f/4 to f/5.6 and isolate the knot from the clutter behind it. Flat overcast light is a gift here; it holds the texture of the fibers without blowing the highlights.
5. Lettering and numbers. Transoms, port of registry, depth marks on a hull, stenciled numbers on the dock. Photograph them square-on and keep the text level. Place names and registration marks are the fingerprints of a harbor — they say which water this is without a caption.
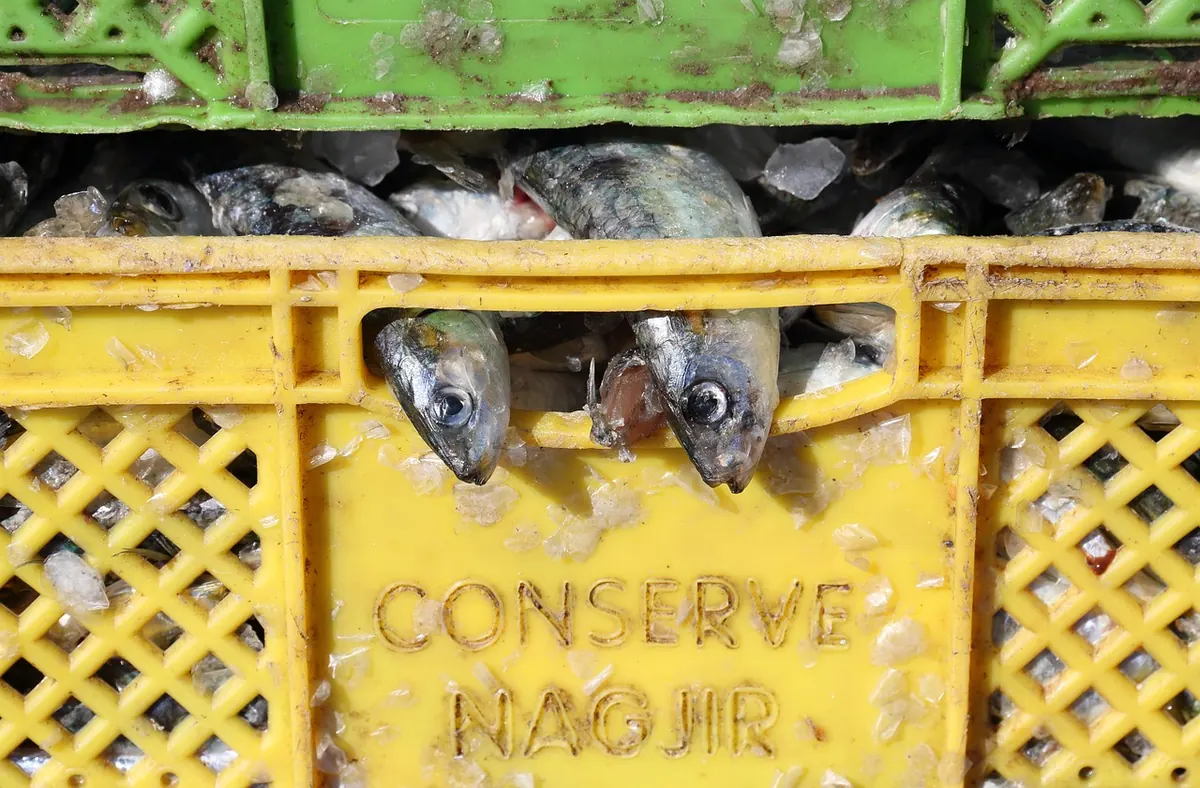
6. Surfaces. Rust runs, peeling paint over timber, tarred canvas, rubber fenders, stacked fish boxes. Fill the frame edge to edge and let the pattern do the work. These frames give an edit its rhythm; they are the place a viewer rests between bigger pictures.
Work the Water, Light, and Reflection
Water is the reason you are standing there, and it changes faster than anything else on the quay. Give it a proper slot in your visit.
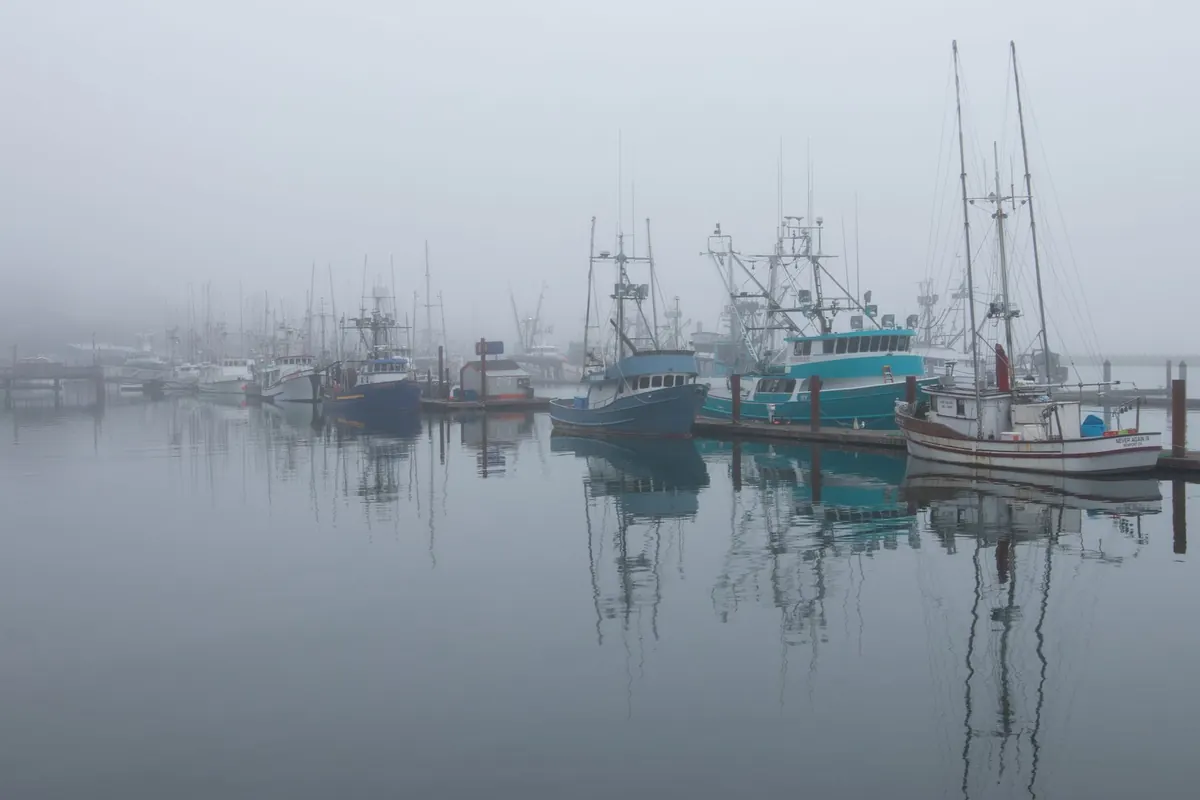
7. Reflections in slack water. The wind usually drops early, before the first ferry moves. Masts invert, hull colors bleed into the surface, cranes double themselves. Get low and close to the waterline. If you carry a polarizer, twist it both ways and check the screen — cutting the glare completely gives richer color but can kill the reflection you came for.
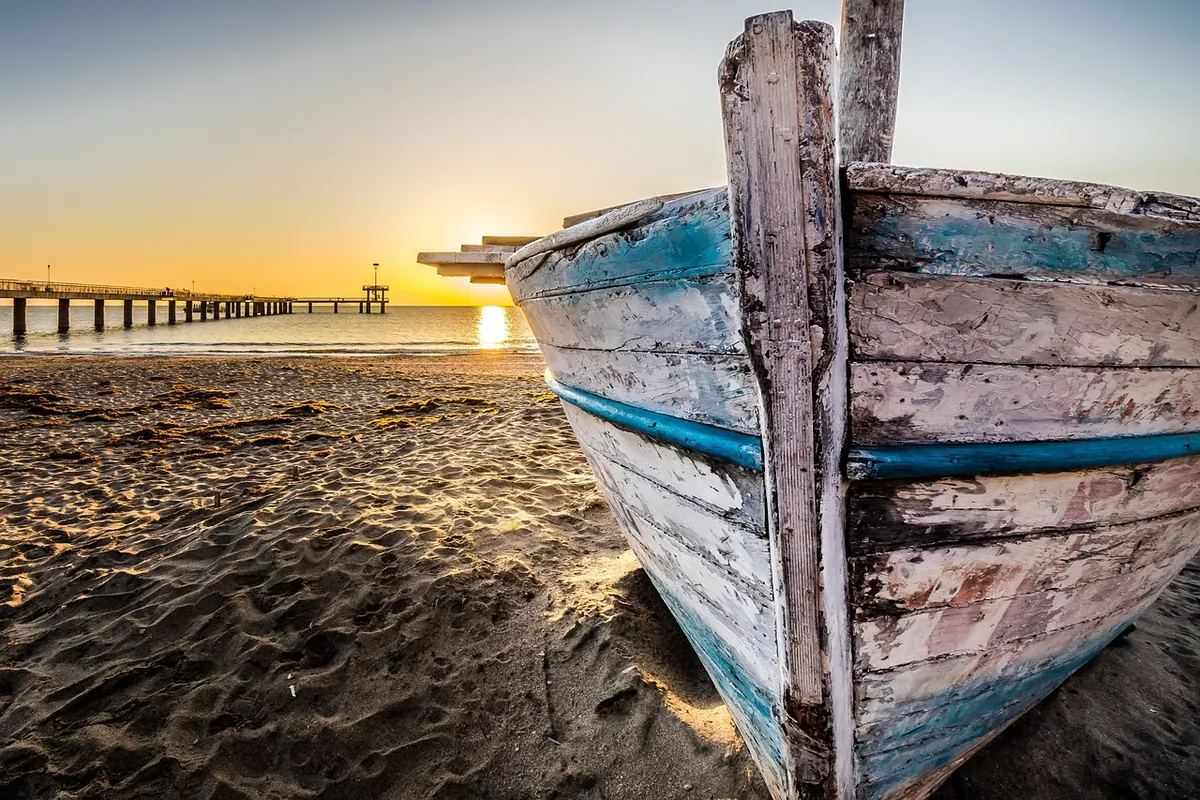
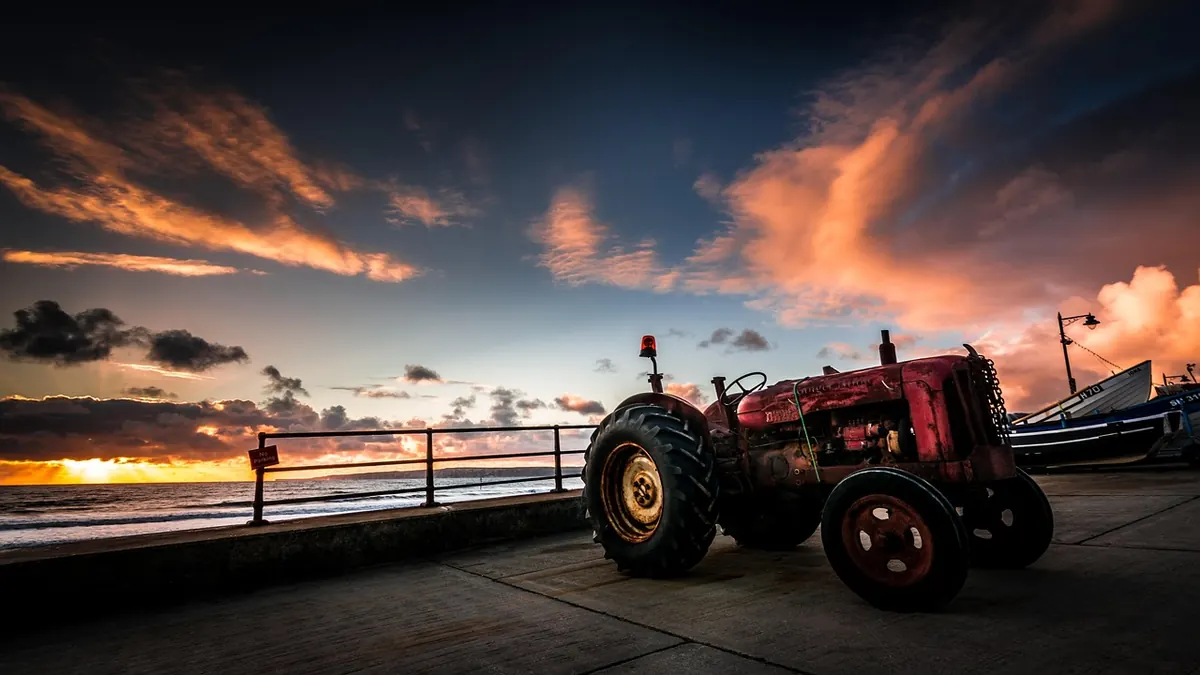
8. Backlit silhouettes. With the sun low and behind the rigging, expose for the brightest part of the sky and let the hulls fall dark. Bracket a stop either side and pick the frame with detail left in the highlights. One human figure on the quay gives the silhouette scale and keeps it from reading as an accident.
9. Blue hour and after dark. A tripod, ISO 200–400, f/8 and an exposure of a few seconds gets you lamps doubled in wet stone and a sky still holding color. Long exposures smooth the water into glass; shorter ones keep its texture. Both are worth ten minutes.
The harbor is a working place first and a picture second. Shoot it that way and it will look like itself.
Catch the Port at Work
10. Crew on the job. Ask before you photograph people, and accept a no gracefully. Then shoot at 1/500 or faster to freeze hands and hauling lines, and keep your distance. Stay well clear of swinging loads and never step behind a reversing forklift; a harbor is a workplace with real hazards, and your frame is never worth an injury.
11. Cargo and loading. Nets, pallets, crates of ice, coiled netting on the dock. Look for repetition, then find the one element that breaks it. A slightly raised position — a step, a seawall, the base of a crane — flattens the pattern into something graphic. Shoot it wide once, then tight once.
12. Small craft in motion. Pilot boats, tenders, harbor launches. Two approaches, both useful: 1/1000 to freeze spray and stitching, or pan at 1/60–1/125 for a sharp hull against streaked water. Turn from the waist, follow through, and keep both eyes open.
A Sequence That Works
Light dictates the order more than the list does. Arrive half an hour before sunrise for reflections and an empty quay, shoot wide views while the light is soft, spend mid-morning on cargo and crew, save late afternoon for backlight and silhouettes, and finish with the blue hour. Tide and weather will rearrange that plan; let them.
- Arrival frame along the quay
- The basin from the opposite side
- Leading line with a single interruption
- Rope, knot, or fender under tension
- Lettering, names, and hull numbers
- Surface texture filling the frame
- Reflections in still water
- Backlit silhouette with a figure for scale
- Night lights and wet stone
- Crew at work
- Cargo pattern, wide and tight
- Small boat in motion, frozen or panned
A few practical habits keep the day smooth: check the tide table before you commit to a spot, keep a microfibre cloth handy because salt spray finds the front element within minutes, carry a spare battery somewhere warm, and level the horizon in camera rather than hoping to fix it later.
Before You Leave the Quay
Review the back of the screen and ask one question: do I have one wide view, one detail, one reflection, and one working scene? If any of those is missing, you probably still have a few minutes and one short walk in you.
Then put the camera down and look once more without it. The frame you notice on that last pass — the one you almost missed — is often the one you will keep.
Photo: Gary Heth / Pexels