Seven Common Harbor Photography Mistakes and How to Fix Them
A harbor gives you everything a photograph needs: water to catch light, boats with strong shapes, ropes and rust and weather, and people doing real work. That abundance is also the problem. Stand on any quay for five minutes and the scene looks ready-made, so we lift the camera, frame what feels right, and get something flat. The photograph isn't wrong because the harbor is dull. It's wrong in a handful of small, fixable ways.
What follows is not a list of rules invented in a classroom. These are the seven problems that show up again and again in harbor pictures — the ones worth checking for every time you raise the camera, whether you are on a working dock at dawn or a marina promenade on holiday.
1. The Horizon You Can't See Through
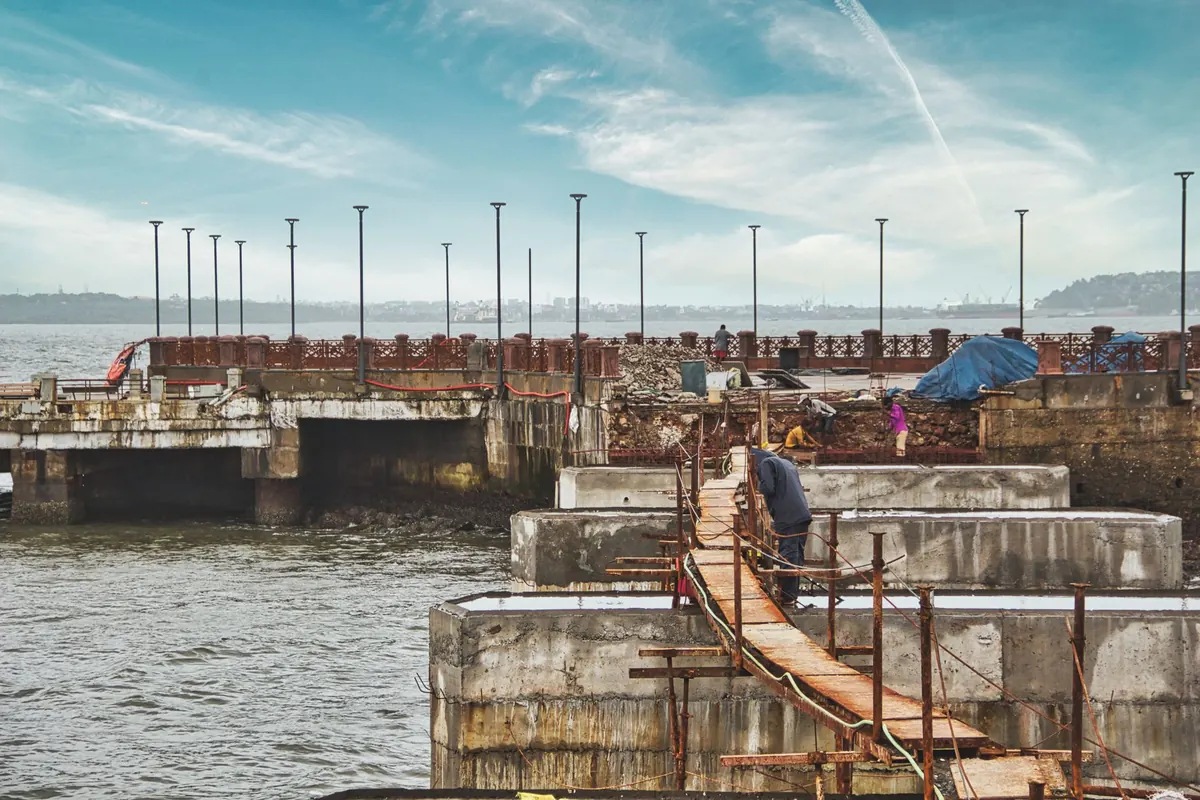
Look at the top third of your last harbor shot. If there is a lamp post growing out of a mast, a crane boom cutting the skyline at a strange angle, or a line of parked cars behind the fishing fleet, the horizon is doing what horizons do in harbors: filling up.
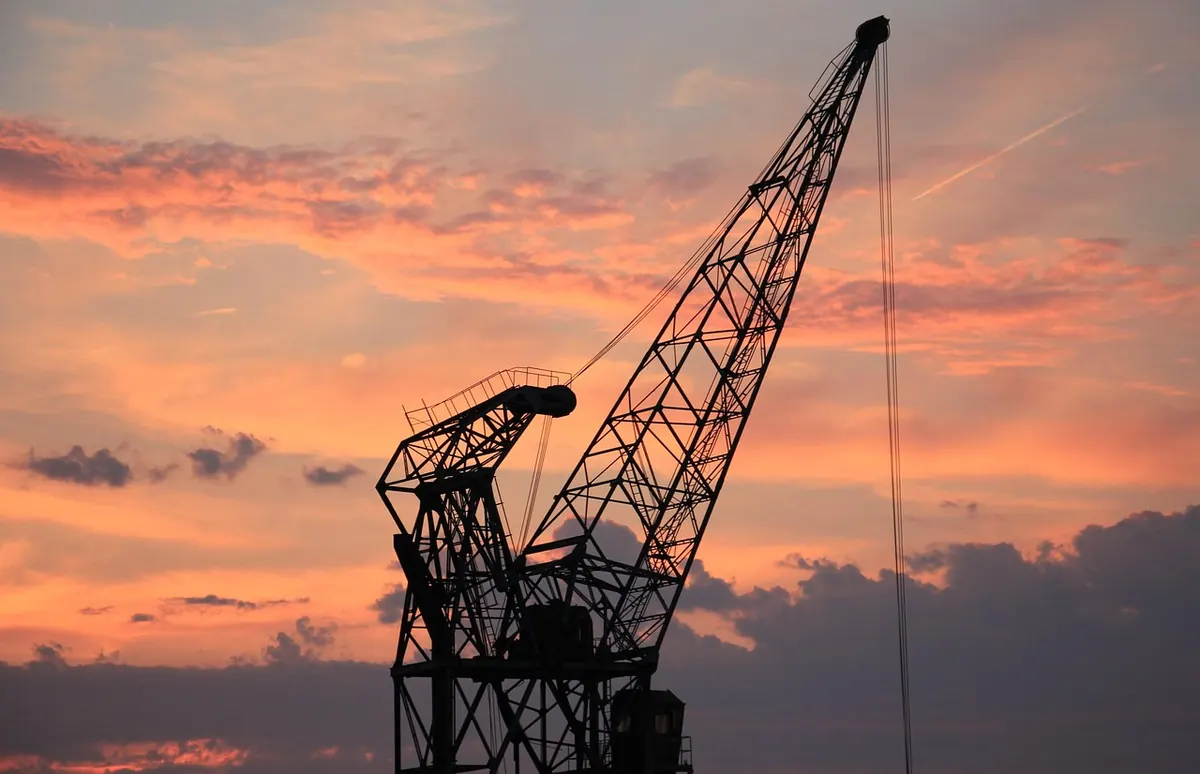
Clutter is not always the enemy. A single crane, silhouetted, can be the point of the picture. The problem is accidental clutter — objects half-crossing each other, none of them clean.
- Move your feet before you zoom. Two steps left can put a mast between two hulls instead of through one.
- Use height. A few steps on a quay wall, a bridge, or the top of a slipway changes the skyline entirely.
- Get low when the water is calm. A camera 20cm above the surface turns every hull into a reflection and drops the clutter behind it.
- Deliberately let one strong thing break the horizon — a lighthouse, a single mast, the bow of the nearest boat — and keep everything else below it.
And check the waterline, not the viewfinder grid. Water gives you a true horizontal in almost every frame. If the sea sits level in reality and sloped in the file, nothing else will save the composition.
2. Blown Skies and White Hulls at the Edge of Nothing
Harbor highlights are brutal. Bright sky over water, midday glare, sun glitter, and the fact that every third boat is painted white. Clip those highlights and the detail is gone; push the shadows instead and you can recover structure in the dark side of a wheelhouse from most raw files.
So expose for the bright end. Switch on the highlight warning — the blinking overlay that tells you what has run off the edge — and watch the histogram. You want it touching the right side, not pouring through it. When the sky is genuinely huge and the foreground genuinely dark, bracket three frames a stop apart and blend later, or wait for the light that does the blending for you.
A polarizer helps with glare on wet decks and glassy water, and it will deepen a blue sky. It will not rescue a white overcast. Nothing rescues a white overcast except patience, or deciding that soft grey is the picture you want.
3. The Empty Foreground
The most common weak frame in harbor photography has a boat in the middle distance, a good sky, and the bottom third filled with nothing much: flat water, or plain concrete. The eye arrives with nothing to step on.
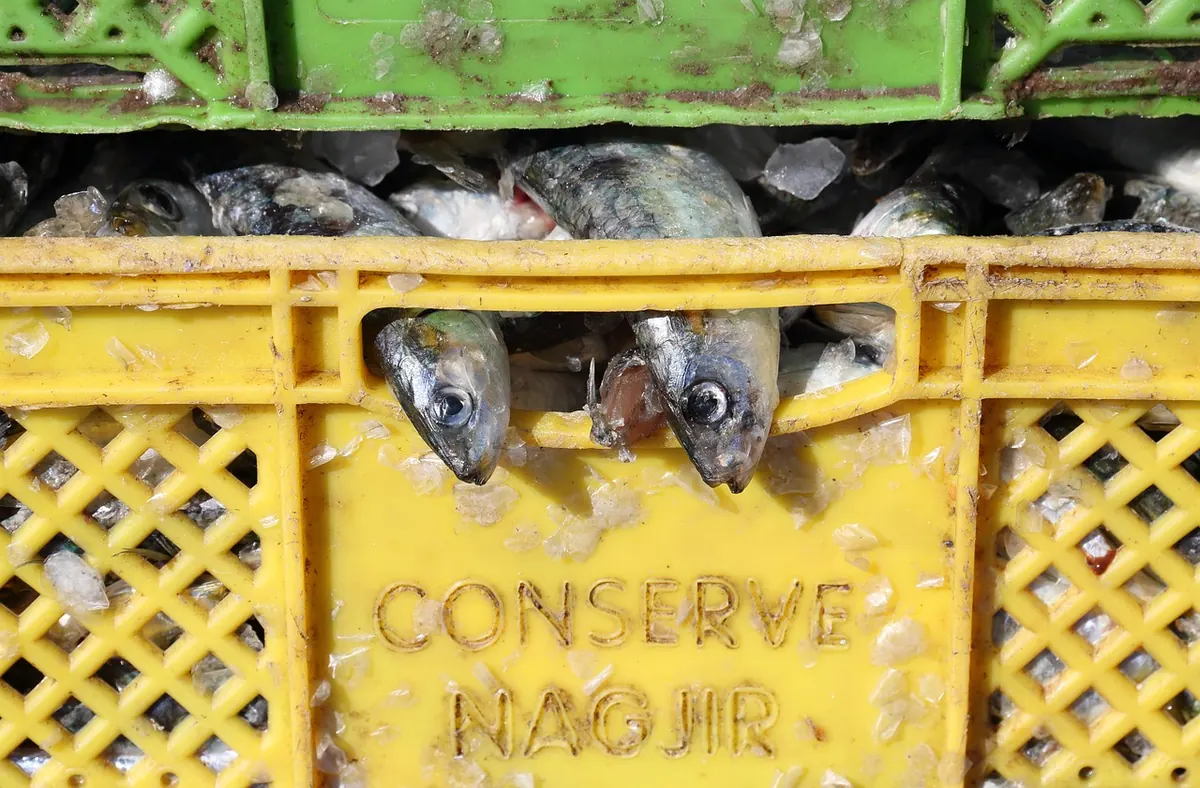
Foregrounds are everywhere on a dock, and they are usually at knee height, which is why standing photographers miss them. Bollards. Coiled rope. A cleat with a wet line running off it. Mooring rings, ladders, fish crates, nets piled under a tarpaulin, a puddle holding the sky.
Crouch. Put the camera down to the level of the rope and let the line lead the eye toward the bow. Then decide what should be sharp: if the foreground matters, focus on it rather than the boat, and stop down to f/8 or f/11 so the middle distance holds too. The reward is depth — a picture you can walk into rather than look at.
4. Shooting Only in the Middle of the Day
Harbors at noon look like diagrams. Overhead light flattens the water, throws hard black shadows under gunwales, and bleaches the color out of painted hulls. It is also the time most of us are there.
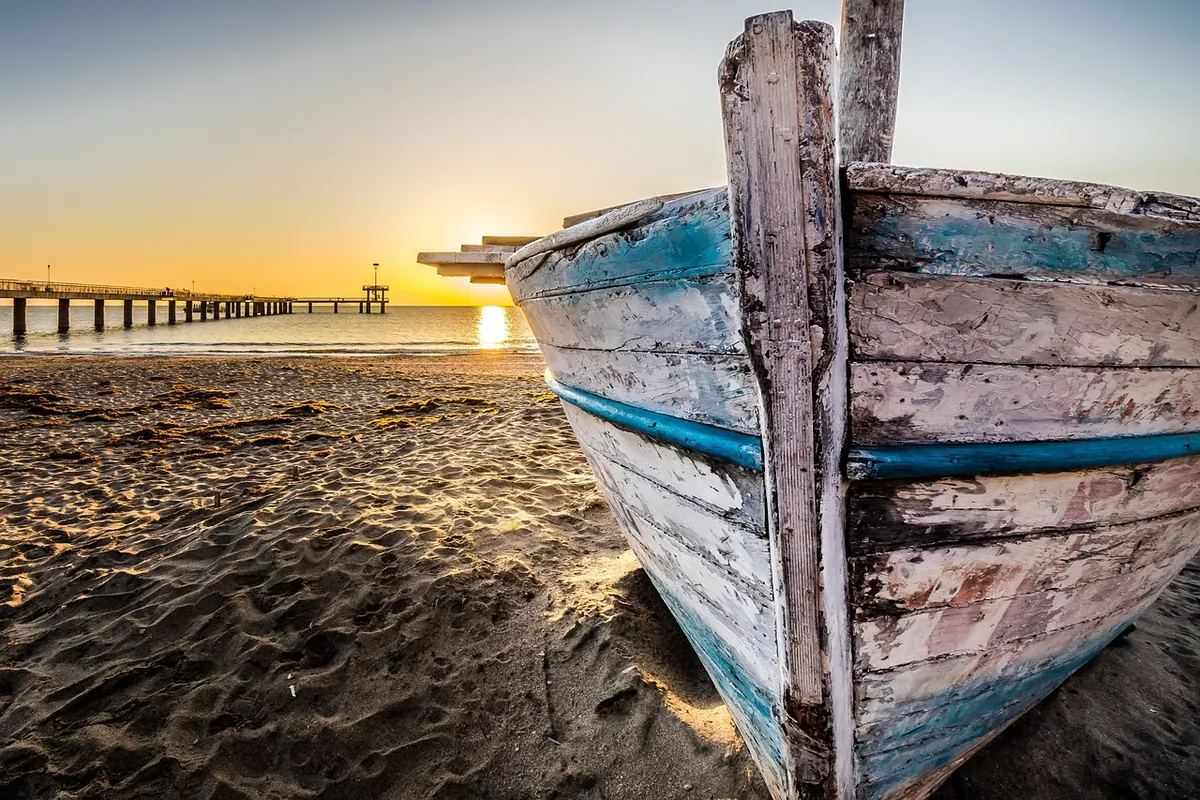
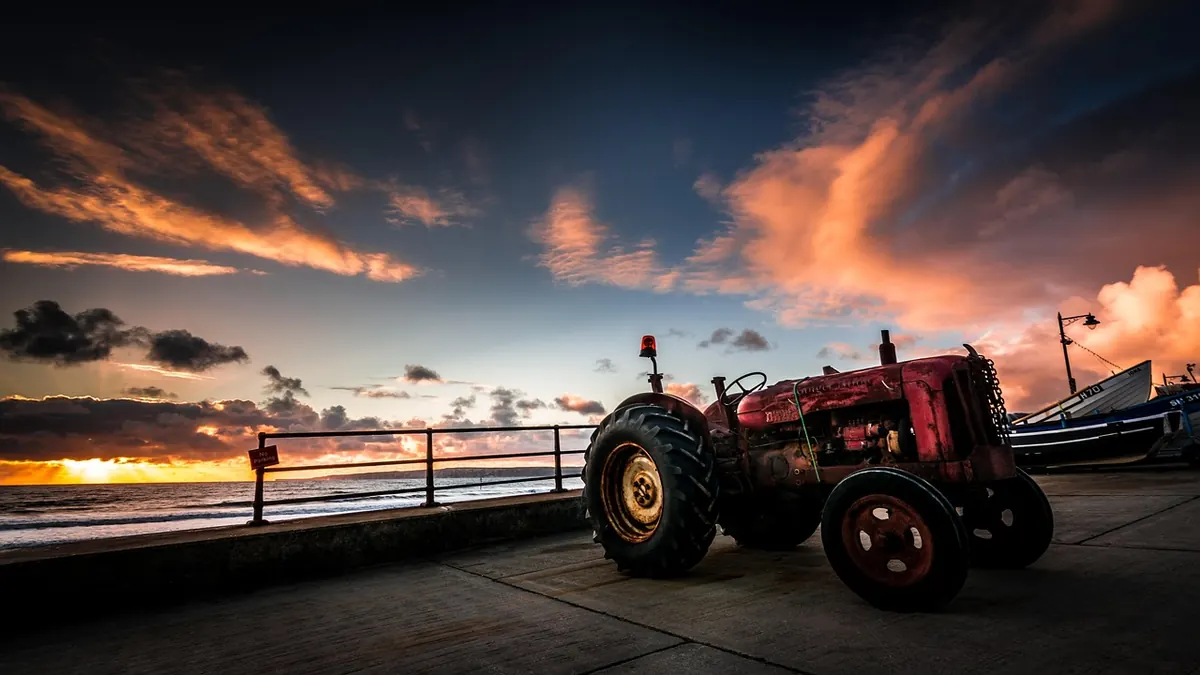
Change the hour instead of the subject. The first light puts a low, warm edge on steel and turns the water into something with texture. The blue hour after sunset gives you harbor lamps, lit cabins and reflections on still water, all balanced against a sky that still has color. Overcast, so often dismissed, is excellent for hulls, nets and faces — soft, even, saturated, easy to expose.
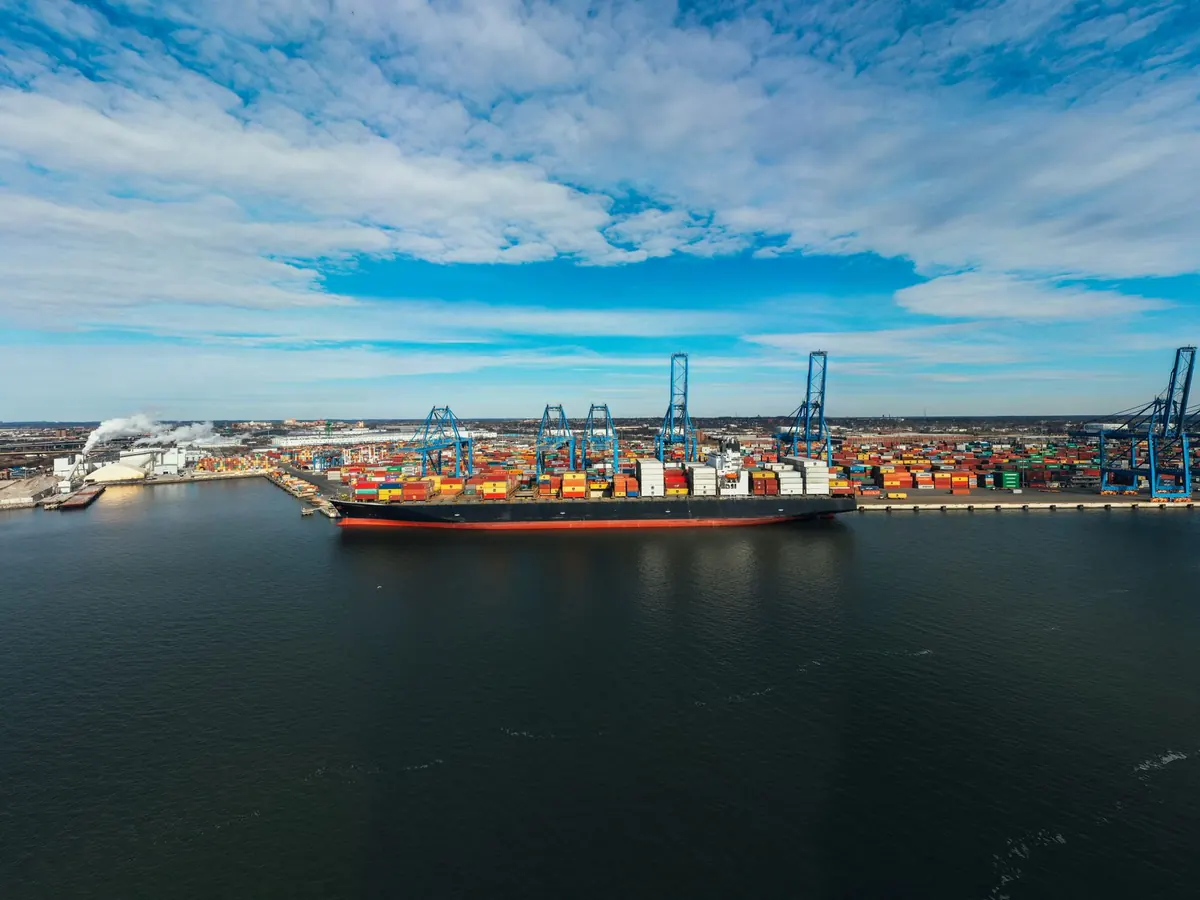
Midday isn't wasted, either. Use it for detail: shadow patterns under a pier, the graphic geometry of containers, the graphic quality of black and white. Just don't expect it to give you atmosphere as well.
5. Standing Where Everyone Stands
The promenade. The end of the pier. The car park with the view. If your photograph looks familiar, it may be because it is the same picture a thousand people took from the same spot, and the harbor has more to offer.
Walk around the basin and look back. Shoot from behind a stack of traps so the subject is framed rather than presented. Find the ladder down to a floating pontoon and work from water level. Look for a doorway, a gap between sheds, or a break in a fence that gives the harbor a frame with an edge.
Remember that docks are workplaces. Keep gangways and mooring lines clear, stay out of the way of anyone handling cargo or rope, and ask before photographing people up close. A quiet question usually gets a better picture than a long lens from the fence.
6. Leaning on the Wide-Angle
Wide lenses are seductive in a harbor, because you can fit the fleet in. But they also push everything away, shrink the boats, and make a busy place look distant and small.
Try the opposite for an afternoon. A 100mm or 200mm lens compresses space: hulls stack up behind each other like painted cards, the forest of masts becomes a pattern, and a fisherman mending a net stands out against a wall of blue. Compression is a harbor's best-kept visual trick.
If you want discipline, take one fixed focal length and stay with it. Constraints make you move, and moving is where the better frames are.
7. Leaving Before the Moment Arrives
Most harbor photographs are taken in the four minutes between arriving and moving on. A harbor, though, is a stage with a schedule. Ferries come in, the ice truck leaves, the auction empties, a gull lands on a piling, someone throws a rope.
Learn the rhythms. Tide tables tell you when the mud shows and the reflections change. Ferry timetables tell you when the water gets busy. Give yourself one subject and twenty minutes with it: pre-focus on the spot where the boat will tie up, set your exposure, and wait with the camera ready. The photograph happens when the rope goes across — not when you're walking back to the car.
Before You Press the Shutter
A short check that catches most of the above, in the order it happens:
- Scan the top third for accidental clutter, then move two steps and scan again.
- Level the horizon against the waterline.
- Check the highlight warning and look at the histogram, not just the screen in sunlight.
- Ask what is at the bottom of the frame. If the answer is "nothing much," crouch.
- Decide whether this light is actually helping, or whether you should come back at six.
- Change your position once more before you shoot — sideways, higher, lower.
- Wait ten more seconds after you think you're done.
None of these fixes need new gear. They need a slower walk around the basin and a willingness to take the second version of the picture instead of the first. The harbor rewards that. It has been there for a century; it will hold still for another twenty minutes while you get it right.
Photo: pixel2013 / Pixabay